This page was last updated Aug 13, 2011
————————————————————————————————–
Model CS-1
We have come a long way Since we kicked off with the SNYGRO. It all evolved into the Our first model The ChemShaper(CS) model 1 or Model CS-1 .
we are not going to post the whole evolution Of the CS-1 . You can read more about it here. , the history and where it was born.
We will just post the final stages and troubleshooting that we do .
Here is where we left off:
The CS-1 project will be based on a digital light projector solidifying a photo sensitive wax/resin layer on a growthplate (as described above.). What makes our printer stand out from the rest is the fact that it is MODULAR. Meaning ,in just one printer you can have much more versatility and choice in stage (building platform) size and height .
You overcome the limitations of one small fixed growth cubic volume. One thing to keep in mind is that as you enlarge the projected area you loose a lot of resolution (see VAT construction). The quality of the resolution will be relative to the size of your stage.
The main reason for this aproach is versatility.One printer can cover a much wider field of interest in the industry, from the jewelers that makes a small 1″ rings to a sculptor that makes 18″ sculptures.
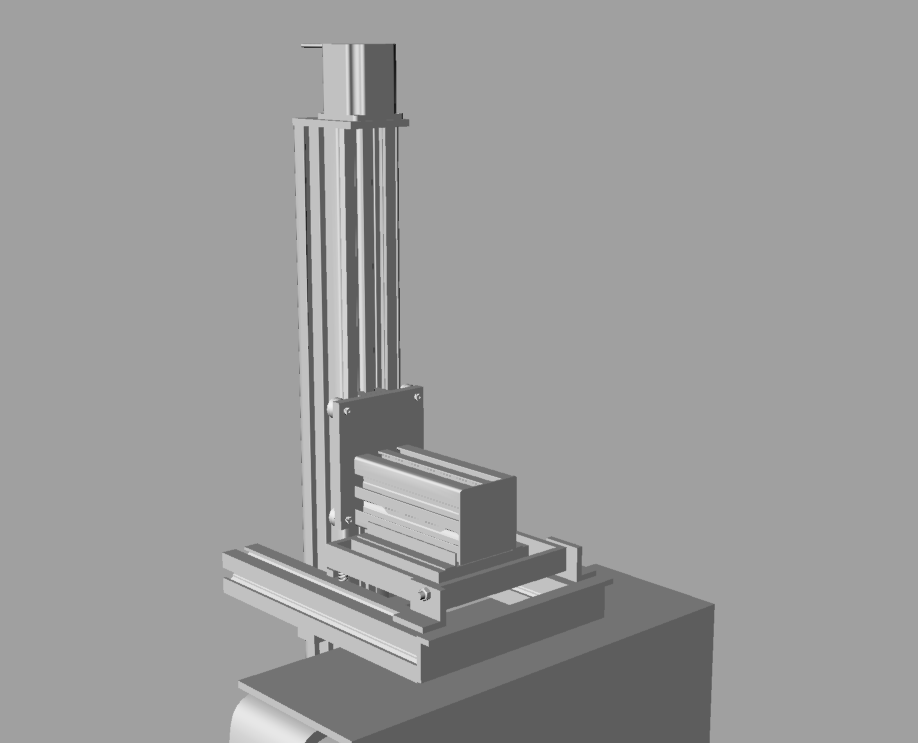
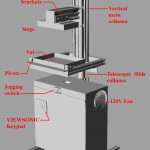
Shown here is a monochrome rendering of the SNYGRO that transitioned into the CS-1. When all the hardware glitches is sorted out we will post a fresh up to date 3D drawing of the CS-1
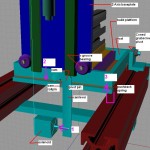
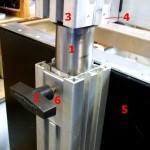
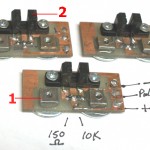
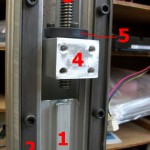
- The solenoid cam tilt mechanism.Shown here is just one of the mudular features of the CS-1.The adjustable stainless steel collumn can telescope out to give a 350mm focal depth.The three opto limit switches. I kept these modules all the same for simplicity.It slides inside the main collum and the final calibration is done from the outside with the white abs plastic slide nuts (see fig xx) .1- Square nut. 2- Opto switch.
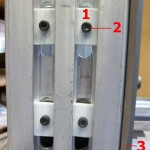
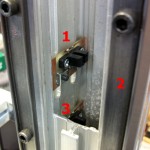
The external adjustable ABS plastic slide nuts for the opto-limit switches. 1-Plastic slide nut. 2-Hex Capscrew
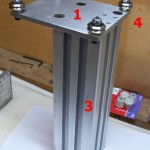
Shown is the horizontal beam (3), bolted to the carriage plate(1).The four small holes are for the leadscrew nut block that slides inside the main collumn
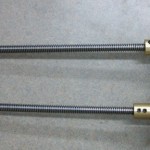
For now I made adapters for the leadscrews,But I am working with a company in china to get steppers with300mm leadscrew shafts.We want to eliminate any backlash possible.
While I am on the Anti- backlash nut, here are the specs for the acme nut thread:
Thread Size 12
Type Acme Tap
Helix Angle 29[DEG]
2lbs of force for every ounce of torque (for plastic nuts)
1.8° Motor 200 steps per revolution x 12 turns per inch (3/8″-12 rods) = 2400 full step or 4800 1/2 step
be prepared to open your wallet(wide) for the TAP (..in 2010 the Tandem tap cost $80.00(us) from mc master carr)


10:35 pm, August 26, 2011reprap101 /
Hi, ive almost finished my ChemShapes offspring 1, CSO1
some photos in the link below.
Looking forward to my first print sometime soon.
https://picasaweb.google.com/118257776948658176570
8:07 am, August 28, 2011hradec /
Hi there… I just posted a link to a proper mac app of our host software… take a look and let me known if it works for you now!!
8:15 pm, August 29, 2011Rupek /
Dont you think the UV beam is blocked/absorbed by the Petri dish glass ?
in my opinion, you have to prefer an “acrylic” screan to have the best performance of UV curing, no ?